When we first moved into our home, the kitchen cabinets were the one thing that drove me crazy. They looked dated, a little beat up, and definitely didn’t match the vibe I wanted for the space. But the idea of sanding every single door and drawer front? That sounded like a nightmare.
That’s when I started digging into alternatives and discovered you don’t actually have to sand to get a great finish. The best paint for kitchen cabinets today is made to stick without all the dust and endless prep work. With a good cleaner, a deglosser, and a solid bonding primer, you can skip the sanding step entirely and still get cabinets that look fresh, modern, and professional.
Why I Decided to Skip Sanding
The thought of sanding down all my cabinets instantly made me want to give up. Between my job, kids running around, and cooking three meals a day in the same kitchen I was supposed to be working on, there just wasn’t time for that.
But I also knew I couldn’t live with those tired-looking cabinets. They made the whole kitchen feel outdated, even though the rest of the space had so much potential. That’s when I learned about liquid deglosser (basically “liquid sandpaper”) and high-quality primers that could handle glossy, slick cabinet surfaces without sanding.
That discovery was a game changer. Instead of a weeklong project, painting my cabinets turned into something I could realistically do over a long weekend. And the results? Let’s just say I still walk into my kitchen and smile.
The Paints That Changed Everything
The biggest question I had was which type of paint to use. There are a ton of options, and each one has its own strengths. Here’s what I learned from actually trying them out:
Chalk Paint
Chalk paint was my first experiment, and honestly, it blew me away. I loved that I didn’t need a primer at all. After a good cleaning, I just grabbed a brush and started painting. The paint went on like butter—smooth, even, and easy to work with.
The finish has that signature soft, matte look. It somehow makes the kitchen feel both cozy and updated at the same time. Every time friends come over, they ask who painted my cabinets, and I get to grin and say, “Me.”
Milk Paint with Bonding Agent
Milk paint feels a little more old-school, but when you add a bonding agent, it sticks beautifully to cabinets. The cool thing about milk paint is how customizable it is. If you want a smooth finish, you can make it happen. But if you’d rather go for a slightly distressed, vintage vibe, that’s easy too.
I used this on a couple of smaller cabinets, and it turned into a fun project where I could experiment with texture. Now those cabinets are conversation starters whenever guests come over.
Acrylic and Enamel Paints
If your kitchen is anything like mine—a high-traffic zone with sticky fingerprints and spaghetti sauce splatters—you need something tough. That’s where acrylic or enamel paints shine. The glossy finish isn’t just pretty; it’s practical. A quick wipe, and the cabinets look clean again.
I went this route for the lower cabinets and couldn’t be happier. They take the most abuse, and months later, they still look as good as day one.
Cabinet-Specific Paints
Finally, there are paints made specifically for cabinets. These are basically superheroes in a can. They’re designed to resist grease, hold up to constant door slamming, and look smooth without a ton of effort.
I tried one on a section of upper cabinets, and it felt like the easiest part of the whole project. The coverage was great, the adhesion was spot-on, and I haven’t had to worry about chipping or peeling since.
How I Painted My Cabinets Without Sanding
Here’s the exact process I followed—no sanding required.
First, I removed all the cabinet doors and hardware. Trust me, it’s worth the extra step to keep things clean and easy to paint. I threw the hinges and screws into little labeled bags so I wouldn’t lose anything.
Next, I cleaned everything thoroughly with a degreaser. Years of cooking leave behind a lot more grease than you realize, and if you skip this step, nothing will stick.
Then came the magic: liquid deglosser. I wiped it on with gloves and let it work. This stuff roughs up the surface just enough so primer and paint can bond, but without creating dust or needing elbow grease.
After that, I rolled on a bonding primer. This is the step that makes all the difference. The primer evens out the surface and gives your paint the perfect foundation.
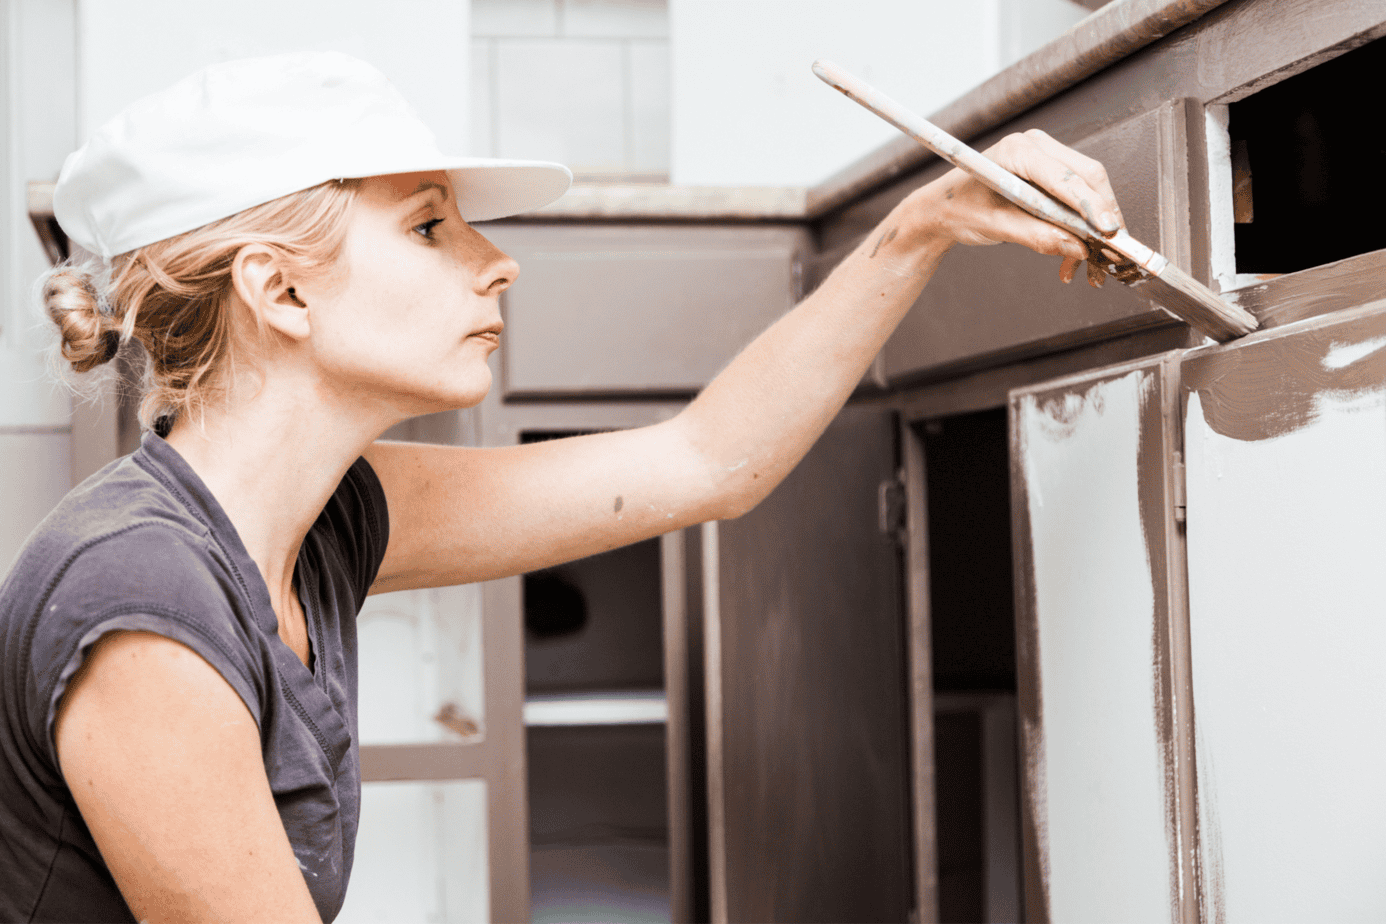
Finally, I started painting. For the flat areas, I used a foam roller, and for corners and edges, a brush. I kept each coat thin and even, letting it dry fully before adding the next. It was hard to wait (patience isn’t my strong suit), but the payoff was worth it. The finish looked smooth, professional, and totally transformed.
My Favorite Paint Brands
After testing different paints, I landed on a few favorites. Annie Sloan Chalk Paint gave me that gorgeous matte look with zero primer needed. Rust-Oleum Cabinet Transformations turned out to be rock-solid for durability, which was perfect for the lower cabinets my kids constantly touch. And Benjamin Moore Advance blew me away with how professional it looked—the self-leveling feature made my brush strokes disappear.
For budget-friendly options, BEHR Premium and Valspar Cabinet Enamel were both impressive. Even Walmart’s Color Place worked well for cabinets that don’t see heavy daily use. Pair it with a good primer, and you’d never guess it was a budget pick.
Read Also: Best Shower Soap & Shampoo Dispenser
Questions I Get All the Time
Do you really not have to sand?
Nope. A deglosser plus primer is all you need. I was skeptical too, but it worked.
How long does the whole project take?
For me, about four days total. One for cleaning and deglossing, one for priming, and two for painting and drying.
Will the paint hold up?
Yes. Months later, my cabinets still look great, even with kids slamming doors and spilling food.
What about brush marks?
I used foam rollers and self-leveling paint, and you can barely see any marks at all.
Was it worth it?
Absolutely. Not only did I save a ton of money, but I also get to enjoy a kitchen that feels brand new every day.
The Bottom Line
Painting your kitchen cabinets without sanding isn’t just possible—it’s easier, faster, and cleaner than the old way of doing things. With a little prep, the right paint, and a bit of patience, you can transform your kitchen in less than a week.
The best part? Every time you step into the kitchen, you’ll feel that burst of pride knowing you did it yourself. And honestly, that feeling is worth more than any pro paint job.